The following topic describes how to download, install, and register the Linux Connection Manager to your Cloudhouse Guardian (Guardian) appliance. As part of this deployment method, the Connection Manager is installed as a package on a supported operating system host that you are responsible for managing.
System Requirements
To install the Linux Connection Manager, the following system requirements must be met:
|
Requirement |
Description |
|---|---|
| Linux Connection Manager Appliance |
Recommended specifications: 4GB, 2 Core. |
| Public SSH Key |
Each target node must have the public SSH key added for key‑based scanning. |
| HTTPS Port 443 |
Must be able to reach the Guardian instance over this port. |
| SSH Port 22 |
Must be able to reach SSH nodes over this port. Note: This is the default port. If you are using a different port, make sure that the Connection Manager can reach the port that the administrator is using to run their SSH server. |
Note: If you do not meet any of the requirements described above, please contact your Cloudhouse Representative for assistance.
Acceptance Criteria
To install the Linux Connection Manager, the following acceptance criteria must be met:
|
Criteria |
Description |
|---|---|
| Operating System |
Linux (unless using the built-in Connection Manager). |
| Connection Protocol | SSH |
| Connection Manager Group |
A Linux Connection Manager group is required to add the Connection Manager to. Specifically, using the Group API Key. |
Supported Hosts
You are responsible for managing the host you choose for the Linux Connection Manager. Prior to commencing the installation, you must ensure that the networking configuration has been completed and your host of choice is able to communicate with the hostname of your Guardian server.
The following operating systems are supported for hosting this Connection Manager type:
- Amazon Linux2
- Debian
- Ubuntu
- RedHat
- CentOS.
Note: If you require an alternative host that is not outlined above, please contact your Cloudhouse Representative.
Deployment
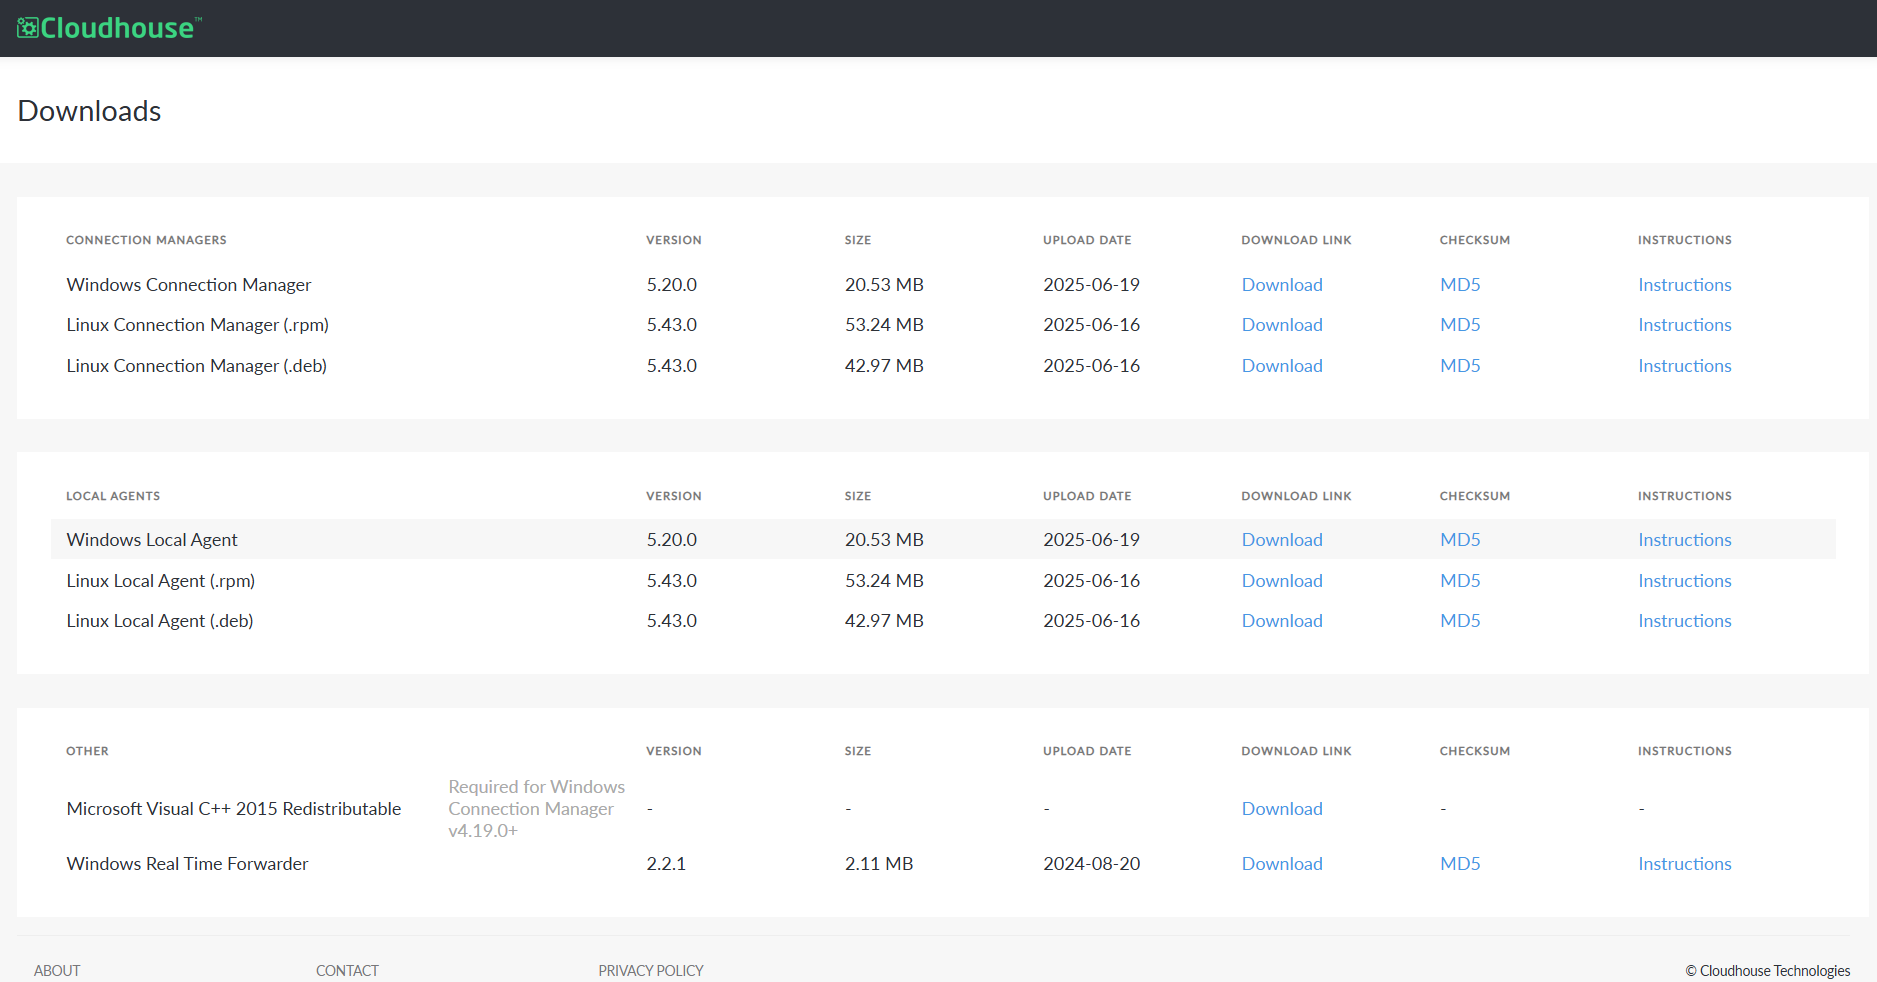
The following procedure describes how to deploy your Linux Connection Manager. First, you are required to download the corresponding .deb or .rpm package from the Guardian Application Downloads page, install the virtual machine, and then complete the internal configurations of your Connection Manager.
-
Access the Guardian Application Downloads page. Here, the Connection Manager is available to download as a .deb or .rpm file.
Note: Alternatively, you can download the package from the Command Line, using the
cURLcommand. -
In the Connection Manager panel, click the Download Link for the Linux Connection Manager that corresponds with the OS you plan to host with. For example, '.rpm'/.deb'.
If your environment contains more than 100 nodes, you may require multiple Connection Managers, depending on the node type and region. For more information, please contact your Guardian Representative and they will assist you with capacity planning.
-
Using
sudo, run the install command for the OS you are using to host the Connection Manager. -
To begin the process of registering the Connection Manager, you need to source the following information:
Option
Description
API Key The Group API Key for the Connection Manager group you want to add the new Connection Manager to.
Note: For more information on how to source the Group API Key for an existing Connection Manager group, see Group API Key. Alternatively, to add a new Connection Manager group, see Add Connection Manager Group.
Connect URL The URL of your Guardian Appliance.
Private Key (Optional) The private key of the desired Connection Manager group. If you are adding the Connection Manager to a group that already has an installable Connection Manager present, you need to provide the private key for the desired Connection Manager group. The .key file can be found in the /etc/scriptrock directory on any existing Connection Manager within that group. For more information, see the note below.
-
Then, using the following command, replace the command line options with the correct values. The backslashes are only used to continue the command over multiple lines.
Copysudo guardrail_agent \
cmregister \
--noprompt \
--config_dir /etc/scriptrock \
--connect_url https://myGuardian.company.com/ \
--api_key 31999999999999999999999999999999999999999999999999999999999999ae \
--suppress_self_updateNote: If you are adding the Connection Manager to a group that already has a Connection Manager present, the private key for the desired Connection Manager group must be added to the above command. To do so, insert the following snippet, '
–private_key /tmp/path_to_key_file.key \', after theapi_keyoption. -
If you have a self-signed certificate, you need to tell the Connection Manager to ignore SSL certificate checking. Add the following flag to the above command:
Copy--ignore_ssl_cert_checkIf you don't have a self-signed certificate, you can skip this step.
-
Once the Connection Manager is registered to the Guardian appliance, it will be displayed in the Connection Managers tab, within the desired Connection Manager Group.
-
By default, this Connection Manager type does not provide a HTTP/HTTPS server for editing the configuration file. Instead, the configuration file is located in the /etc/scriptrock/scriptrock.yml directory. To enable the built-in web interface, add the following lines to the end of the configuration file, where the port values are at least 1024.
Copycm_http_port: 8080
cm_https_port: 8433 -
Once complete, restart the Connection Manager service using the following command.
Copysudo systemctl restart guardrail-Agent
Once the Connection Manager has been configured correctly, you can begin adding nodes for it to scan, see Add Nodes for more information.